Each letter in Xampp has a special meaning. X stands for cross-platform i.e. Xampp can be installed on any platform such as Windows OS, Linux-based OSes (hence called Lampp for Linux), etc. A stands for Apache web server. M stands for MySQL (actually, it is MariaDB; however both MySQL and MariaDB have the same command and tools). P stands for PHP. Next P stands for Perl. Therefore, it is an apache distribution with MySQL, PHP, and Perl. There are other programs as well - proFTPD, OpenSSH, SQLite, PHPMyAdmin, etc.
Installing and managing these programs separately requires a lot of technical knowledge. Therefore, XAMPP came into existence. This provides lots of benefits -
- Using Xampp you can learn PHP language, MySQL, and Apache and how they work, and develop your project locally on your own computer without worrying about the security, internet connection, etc. Then you can deploy that on cloud platforms such as AWS, Microsoft Cloud, etc.
- You can also install WordPress and practice that. You can use this local WordPress environment to build websites for your clients on a freelancing platform. And in the end, you can transfer everything to desired hosting platform.
- Similar to WordPress, there are many one-click install packages ready to be installed with the help of Bitnami.
Step 1: Download Xampp for Linux
Download the Linux version from the official site Apache Friends. At the time of writing this article, the downloaded file is xampp-linux-x64-7.4.29-1-installer.run. For you, the numbers in the filename might get changed but the procedure will remain the same.
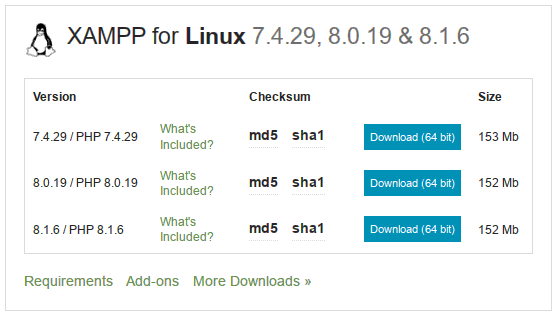
Fig: Xampp download page
Step 2: install Xampp in Linux
Get into the ~/Downloads/ or your downloaded directory:
cd ~/Downloads/Now, make the above-downloaded file executable by changing the execution bits into -rwxr-xr-x:
sudo chmod 755 xampp-linux-x64-7.4.29-1-installer.runNow, execute that installer file:
sudo ./xampp-linux-x64-7.4.29-1-installer.runYou will see a Welcome Screen.
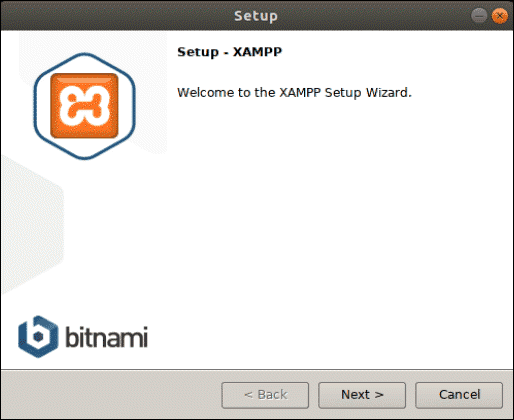
Figure: Welcome to the Xampp setup wizard
Step 3: Select the Xampp components you want
Select/unselect the components based on your preference. But I will advise you to leave the recommended ticks. Now, hit Next button.
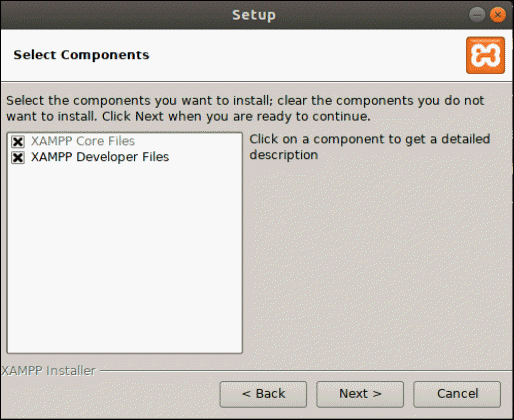
Figure: Select your desired components in Xampp setup wizard
Step 4: Installation directory in Xampp
As you can see the installation directory in Xampp is /opt/lampp/ or /opt/xampp/. Xampp's files will not be installed anywhere else. So, unlike other Linux applications, you will not have any *.desktop file in /usr/share/applications/, no systemd files, no files in the /bin/ directory. You will have to create them if you want to use them. In the end, I will show you that since I find them very useful.
Now, hit the next button.
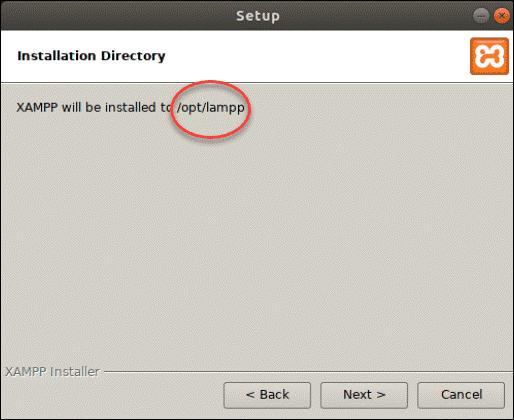
Figure: Xampp installation directory
Step 5: Ready to install Xampp in Linux
Hit the Next button in the Ready to install page.
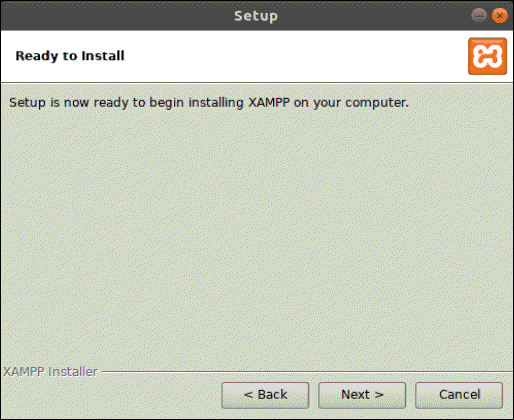
Figure: Xampp asks you if you are ready to install
After the installation is finished, you will get the confirmation page:
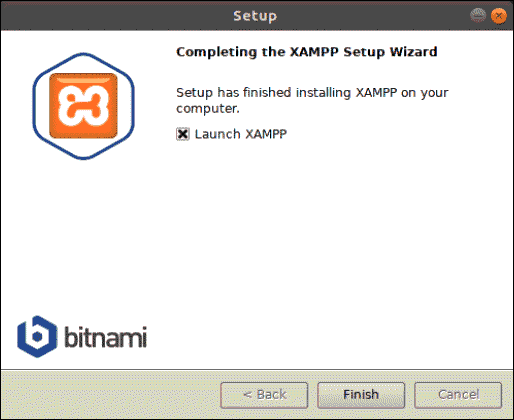
Figure: Confirmation page saying that Xampp installation process went fine
Now, you can start the Xampp in Linux using the Finish button and tick mark as shown above. Use that, or follow step 6.
Step 6: Run Xampp in Linux
To start Xampp in Linux, execute the /opt/lampp/lampp start command:
[ajay@lenovo ~]$ sudo /opt/lampp/lampp start
[sudo] password for ajay:
Starting XAMPP for Linux 8.1.6-0...
XAMPP: Starting Apache...ok.
XAMPP: Starting MySQL...ok.
XAMPP: Starting ProFTPD...ok.
If the above command does not work, try executing /opt/lampp/xampp start because in some versions of xampp, words lampp and xampp are interchanged.
To confirm if xampp started and everything worked fine, open up your favorite web browser and go to the website http://localhost. You should see the following screen:
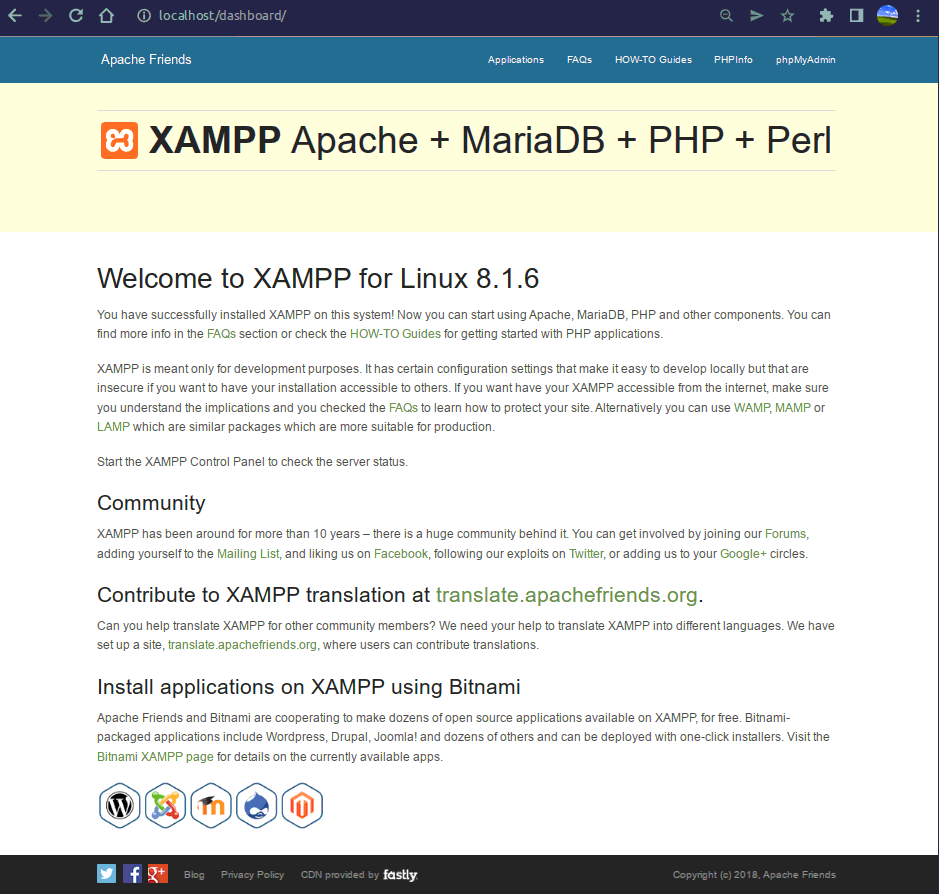
Figure: the link http://localhost
To stop xampp, execute the /opt/lampp/lampp stop command:
[ajay@lenovo ~]$ sudo /opt/lampp/lampp stop
Stopping XAMPP for Linux 8.1.6-0...
XAMPP: Stopping Apache...ok.
XAMPP: Stopping MySQL...ok.
XAMPP: Stopping ProFTPD...ok.
You can also create a symlink in /bin directory for ease:
[ajay@lenovo ~]$ ln --symbolic /opt/lampp/lampp /bin/lamppNow, to start and stop, you just need to execute the commands lampp start and lampp stop respectively.
Note 📓: If the above link does not work, try to go to http://localhost/xampp. This is because of changes in various versions of xampp. And if both the links do not work try to go to http://127.0.0.1 as explained in this StackOverflow question.
Step 7: Make xampp more secure
When I was just a beginner, I used to get worried as soon as I heard about "Apache" or "web server". I used to think that by installing that, I might accidentally open up some ports and thus make my computer accessible from the internet to hackers. If you have this kind of fear, then please implement the following recommendations. And you can also look at my upcoming article on Uncomplicated FireWall (UFW).
Make the Apache, MySQL, and ProFTPD listen only to the localhost
You can configure Apache, MySQL, and ProFTPD in such a way that they only listen to requests from your own computer. For most of you, this is fine and it also greatly reduces the risk of being reached from the Internet.
- For the Apache web server, go to its configuration file
/opt/lampp/etc/httpd.confand replaceListen 80withListen 127.0.0.1:80. Now, the Apache server listens only to the request coming from your own computer at theport 80while earlier it was listening to the request coming from all the addresses atport 80. - Similarly, in the file
/opt/lampp/etc/extra/httpd-ssl.confcomment out the lineListen 443by putting a hash symbol#in front of it.Listen 443tells the apache web server to listen to all requests coming at port 443 therefore it needs to be commented out. - For MySQL, open its configuration file
/opt/lampp/etc/my.cnf. And putbind-address=localhostafter the line[mysqld]in this file. This binds MySQL with the localhost so that nobody from the internet can access it. - For the FTP server, open its configuration file
/opt/lampp/etc/proftpd.confand put the following two lines after the lineDefaultServer on:
DefaultAddress 127.0.0.1
SocketBindTight on
Now, you need to make sure that the above changes have worked. Restart xampp and go to the link http://localhost. Make sure that the link still works. On top of that execute the following netstat command and be ensured that the output in the column Local Address corresponding to the State LISTEN should start with 127.0.0.1 or ::1 but not 0.0.0.0 (which means all addresses) not :::443 (which means all addresses at port 443).
[ajay@lenovo ~]$ sudo netstat --numeric --program --all

Active Internet connections (servers and established)
Proto Recv-Q Send-Q Local Address           Foreign Address         State       PID/Program name
tcp        0      0 127.0.0.1:39435         0.0.0.0:*               LISTEN      1569252/python3
tcp        0      0 127.0.0.1:80            0.0.0.0:*               LISTEN      2226916/httpd
tcp        0      0 127.0.0.1:21            0.0.0.0:*               LISTEN      2226949/proftpd: (a
tcp        0      0 127.0.0.1:8765          0.0.0.0:*               LISTEN      1569252/python3
tcp        0      0 127.0.0.1:51224         127.0.0.1:39435         ESTABLISHED 1569252/python3
tcp        0      0 127.0.0.1:39435         127.0.0.1:51260         ESTABLISHED 1569252/python3
tcp6       0      0 ::1:3306                :::*                    LISTEN      2227172/mysqld
...
...
...
Change Xampp passwords
To get the usernames and passwords and other related information, parse configuration files for MySQL, ProFTPD, PHPMyAdmin, and others. They are located in the /opt/lampp/etc/ directory. For phpMyAdmin, the configuration file is /opt/lampp/phpmyadmin/config.inc.php. More on this in the upcoming headings.
By default, Apache, FTP, MySQL, and other packages have null (empty) passwords. This is fine if nobody can access these servers from the internet (which is possible using the above heading). But if you want to access your Xampp from the internet, you need to use the /opt/lampp/lampp security command. This will change passwords for, user "pma" for phpMyAdmin, user "root" for MySQL and user "daemon" (sometimes, "nobody") for ProFTPD. Now, only people with access to these passwords can access Xampp apps.
Here is a sample output of the /opt/lampp/lampp security command:
XAMPP: Quick security check...

XAMPP: MySQL is accessable via network.

XAMPP: Normaly that's not recommended. Do you want me to turn it off? [yes] yes

XAMPP: Turned off.

XAMPP: Stopping MySQL...

XAMPP: Starting MySQL...

XAMPP: The MySQL/phpMyAdmin user pma has no password set!!!

XAMPP: Do you want to set a password? [yes] yes

XAMPP: Password: ******

XAMPP: Password (again): ******

XAMPP: Setting new MySQL pma password.

XAMPP: Setting phpMyAdmin's pma password to the new one.

XAMPP: MySQL has no root passwort set!!!

XAMPP: Do you want to set a password? [yes] yes

XAMPP: Write the passworde somewhere down to make sure you won't forget it!!!

XAMPP: Password: ******

XAMPP: Password (again): ******

XAMPP: Setting new MySQL root password.

XAMPP: Setting phpMyAdmin's root password to the new one.

XAMPP: The FTP password for user 'nobody' is still set to 'lampp'.

XAMPP: Do you want to change the password? [yes] yes

XAMPP: Password: ******

XAMPP: Password (again): ******

XAMPP: Reload ProFTPD...

XAMPP: Done.
Note 📓: You need to constantly restart Xampp after doing any changes such as above and go to the link http://localhost. Make sure that everything is working as expected. Do this at every step so that the overall process is smooth.
Super security
The xampp is mainly meant for being used in a local development environment. You are not supposed to use it in the production environment. However, there are tutorials on the official site to deploy your local project to Google Cloud, Microsoft Azure, Amazon Web Services, and others. The tutorial covers everything about security.
Back up and restore your personal files in xampp in Linux
Whenever you update/install xampp in Linux using the above method, your own configuration and data files might get lost. For that, you need to back it up. For this, first, you need to know where these files go.
Htdocs
The full form for Htdocs is HyperTextDOCuments. This sounds almost like Hyper Text Transfer Protocol (HTTP). Many of you might be getting an idea of what this means.
It is a directory - /opt/lampp/htdocs/. When anyone goes to your website (in our case http://localhost), the Apache Web Server serves contents from this directory. For example, when you go to the link http://localhost in your browser, Apache will serve the content from this directory. As a fun task, go and have a look into this directory - you will find Html and CSS files. Try to read the content of this HTML file. And you will see what I am talking about.
For example, if you want to practice with WordPress, WordPress will be downloaded, unzipped, and installed in this directory.
At the same time, you can also make Apache look beyond this directory htdocs/ as well. That will require configuring the Apache's configuration file /opt/lampp/etc/httpd.conf which is beyond the scope of this article.
Configuration files
Like Linux's default configuration files in /etc, they are:
/opt/lampp/etc/httpd.conf— Apache configuration./opt/lampp/etc/php.ini— PHP configuration./opt/lampp/etc/proftpd.conf— ProFTPD configuration./opt/lampp/etc/my.cnf— MySQL configuration./opt/lampp/etc/extra- many more configuration files such as httpd-ssl.conf/opt/lampp/phpmyadmin/config.inc.php— phpMyAdmin configuration.
Data
Like Linux's default data directory /var, it is /opt/lampp/var. For example, phpMyAdmin creates MySQL databases here.
Now, to back up your configuration and data files, just copy the folders /opt/lampp/htdocs/, /opt/lampp/etc/, and /opt/lampp/var/. And don't forget to copy /opt/lampp/phpmyadmin/config.inc.php as well.
Uninstall Xampp in Linux
First move into lampp the directory:
[ajay@lenovo ~]$ cd /opt/lamppNow execute the uninstall command:
[ajay@lenovo ~]$ sudo ./uninstallNow, you will get a confirmation dialogue. Press Yes button.
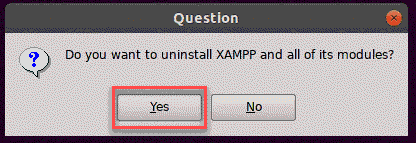
Figure: Xampp uninstallation confirmation
Then the uninstallation procedure begins. If the uninstallation procedure is successful, you should see the following figure:
Figure: Xampp uninstallation completion
After that remove the lampp directory.
[ajay@lenovo ~]$ sudo rm --recursive --force /opt/lamppImportant Xampp commands
The following are the Xampp commands. Some of these have already been covered. Rest are self-explanatory. To run execute any, just prepend /opt/lampp/lampp with that.
-
start- Start XAMPP (Apache, MySQL, and eventually others) -
startapache- Start only Apache -
startftp- Start only ProFTPD -
startmysql- Start only MySQL -
stop- Stop XAMPP (Apache, MySQL and eventually others) -
stopapache- Stop only Apache -
stopftp- Stop only ProFTPD -
stopmysql- Stop only MySQL -
reload- Reload XAMPP (Apache, MySQL and eventually others) -
reloadftp- Reload only ProFTPD -
reloadapache- Reload only Apache -
reloadmysql- Reload only MySQL -
restart- Stop and start XAMPP -
enablessl- Enable SSL support for Apache -
disablessl- Disable SSL support for Apache -
backup- Make a backup file of your XAMPP config, log, and data files (experimental) -
oci8- Enable the oci8 extension -
panel- Starts graphical XAMPP control panel
Way ahead
That's all folks. This was the basic coverage of Xampp. I tried to cover as much as possible in the simplest possible ways so that many of you can understand it.
Now, using Xampp, you can experiment with its tools and then deploy that online.
To learn more about Xampp, head over to the /opt/lampp/man directory and try to execute the files with the man command. You can also explore the Xampp by looking into FAQs, HOW-TO-Guides, and Applications given at the top toolbar in the http://localhost. And if you run into any issues just look into the /opt/lampp/logs directory especially the error_log file in this directory.